
After the parts for the cover had cured I debagged the layup and inspected to make sure it was acceptable.

The inside of the cover got only one layer of glass so it was easy to knife trim the parts and prep them for assembly.

Using masking tape I assembled the cover for tapping the inside joints.

I checked to make sure the cover was square which it was not. So I took the tape off one side to realign.

This was after three tries to get it straight. It wasn’t supposed to be that difficult but I didn’t let it win. I called this close enough and moved on.

I clamped blocks on either side to keep the side panels straight.

Next I brushed resin on the seams. This was an attempt to get some resin to soak into the joints.

I then applied a fillet using micro. I should have made it a bit thicker. Because of the resin that I had brushed into the corners it got more runny as the micro soaked up the resin. It wasn’t that bad I just had to be careful while glassing it to not bugger the radius.

The seams were then glassed with one layer of BID and peel plied.
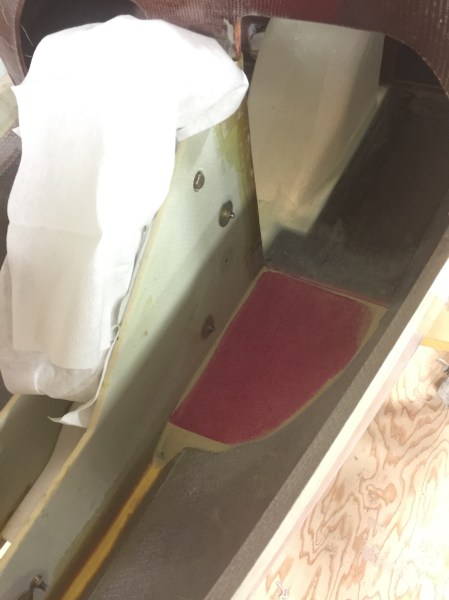
I then moved onto the floors. The core that i had bonded down was cured so I busted out the elbow grease and sanded them more accurately to level.

I used a piece of poly to make a template for the glass to be cut to.

The glass was applied. This is the second glassing that will tie the nose to the fuse on the inside.

The layup was peel plied of course 🙂 The right hand side was completed at the same time. I only take pictures of the left side because there is better light for the camera.

