
I won’t be using the stock rudder pedals for reasons I will explain when I build them. I removed the tabs on the F22 bulkhead.

Here they are removed and the F22 Bulkhead sanded flush with the Thickness of the fuse. In hindsight I could have left them 0.80 thick where the longerons meet up to it. I had to fill up to the thickness of the nose core so it would have been more material left in that area. I also sanded all the surfaces where the bid tapes would be going down.

The core on the lower skins in the wheel well area was ground out for a flox corner.

I filled the flox corner and tooled flox into the cells of the core. I didn’t want to have a lot of flox in this area as it would only get pushed out when I fit the nose assembly. I just wanted to make sure it was worked into the core.

Flox was applied to the front of the F22 bulkhead in the area that the honeycomb would be bonding.

Flox was applied to all the surfaces that would be bonding to the fuse.

I also make sure to tool the flox down into the cell structure of the honeycomb. With all the edges floxed I clamped the nose up into position.

The fuse was checked for level before I did the alignment checks on the nose. This pic is using a square off of the F22 bulkhead and extended out to make sure the front of the nose was at the correct height.

The nose was then checked to make sure it was level in relation to the fuse.

I then used a laser to make sure that the nose was aligned with the center of the fuse. I did these three checks many times while glassing on the nose to make sure I hadn’t bumped it. I did find myself at one point leaning on the nose and did put it out of alignment so an movement was self induced on my part.
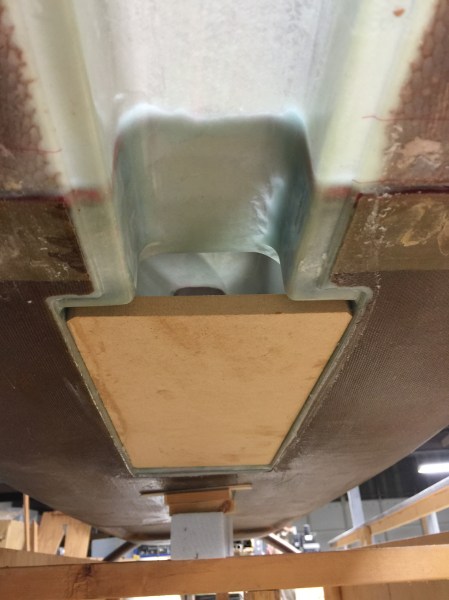
I cut a rectangle to press into the wheel well to make sure the sides stayed straight. Because the sides of the wheel wells had some flex I was able to over stuff flox in between it and the fuse. When I pressed in the wood rectangle I got lots of squeeze out so I was happy with how it worked.

Here I was trying to cheat and get some more room for my gear leg. I had sanded some extra space on the F22 bulkhead where it met the strut cover and used clecos to pull up on that section of the SC. Ill have to wait to see if it worked.

Next I went around and made all of the fillets using the excess flox.

Another pic of putting in the flox fillets.

I then made up some bid tapes 2.0 inches wide and glassed all the seams on the inside of the nose and fuse.

The nose was glassed to the fuse on the inside. When I made the nose I machined the honeycomb down to 0.8 thick so it would match the sides of the fuse. I knew that I would have to build up the bottom so I would have a smooth transition for my heels. This will also help with making a landing for the rudder pedals and the nose will be glassed to the fuse twice in that area so It will be strong.

The last step was to peel ply all the glass that was done on the nose and fuse. Again, I did the three checks to make sure it was aligned and then left it to cure.

