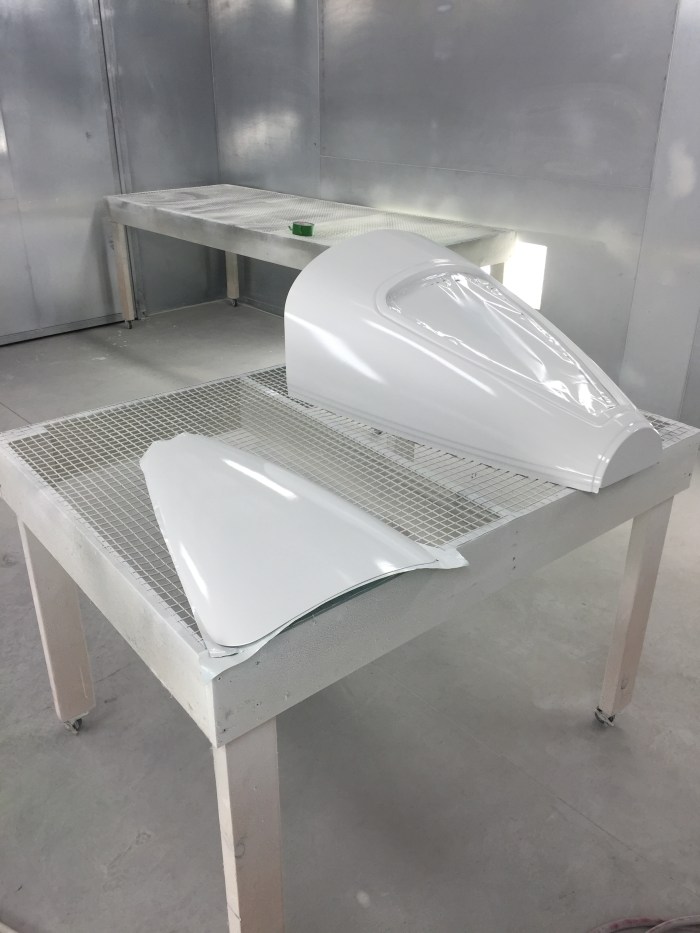
There are a lot of different ways that people go about filling their composite aircraft. I’ll show you how I do it. One of the reasons I chose to produce molds for the front was so I didn’t have a massive amount of fill. Even if you don’t have molds being careful in the shaping of the foam will make all the difference in the world. The thicker your fill is the more chance you will have cracking once the aircraft is flying. Not a huge deal but it looks bad.
The first step is to sand down your part and prime it with epoxy primer. You want to use epoxy because it is what will adhere to the epoxy used in the lay up. You don’t want to put it on thick. It is a sealer coat only.
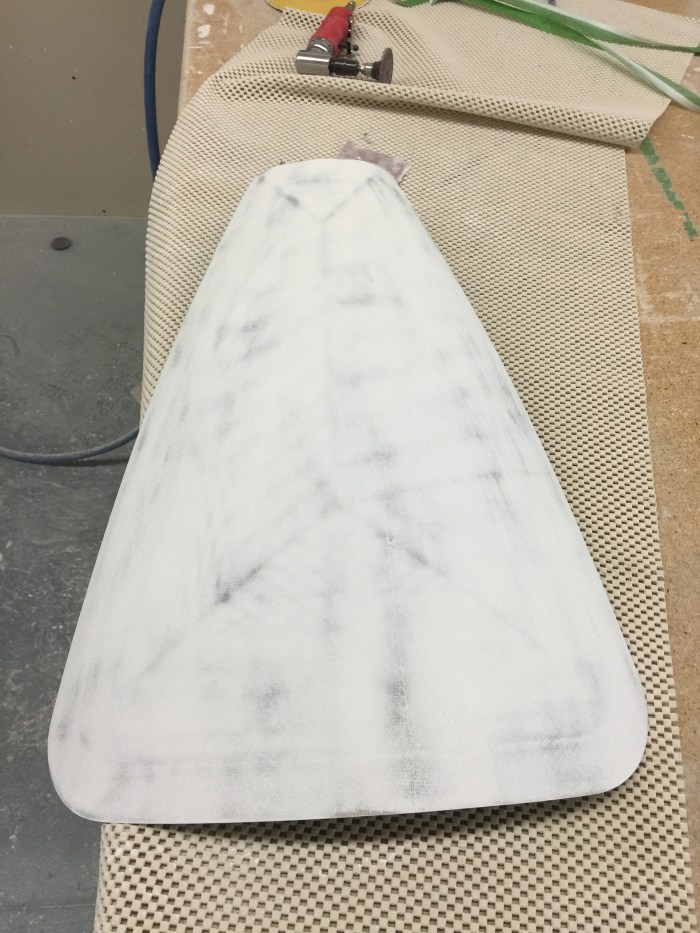
Here is the hatch door sanded after its first prime. I try to sand as much of the primer off without breaking through into the glass.

Yes, on a molded surface I use bondo style filler. We use a filler that is a Boeing spec filler. Yep, Boeing uses bondo. The difference is it has resins that meet the flammability requirements for certified aircraft. However I only use it up to a 1/16 thick and only in smaller areas. If I have to build up a entire surface I do use micro.
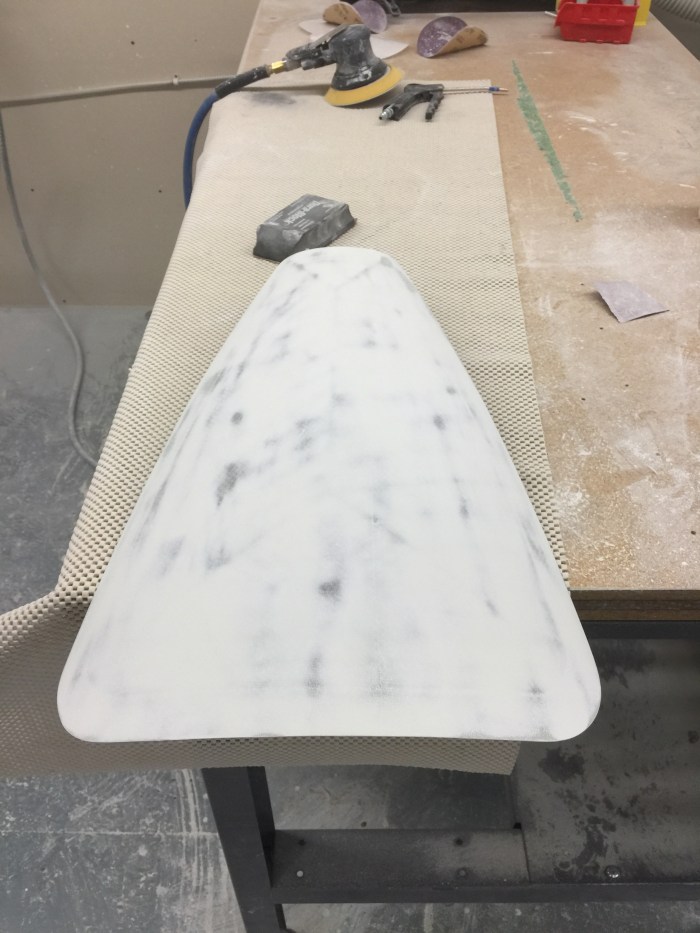
The filler sands really easy so it doesn’t take much time to knock it back down. The objective here was to fill all the pin holes and not sand through the primer into the glass. If you do you just make more pinholes.
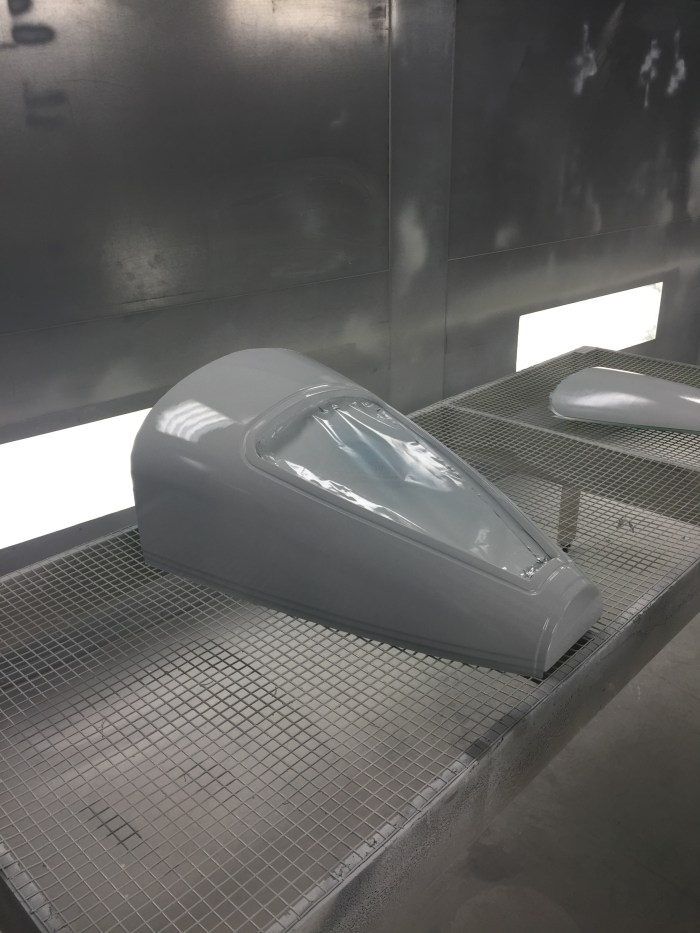
The parts are back in the booth ready for another prime.
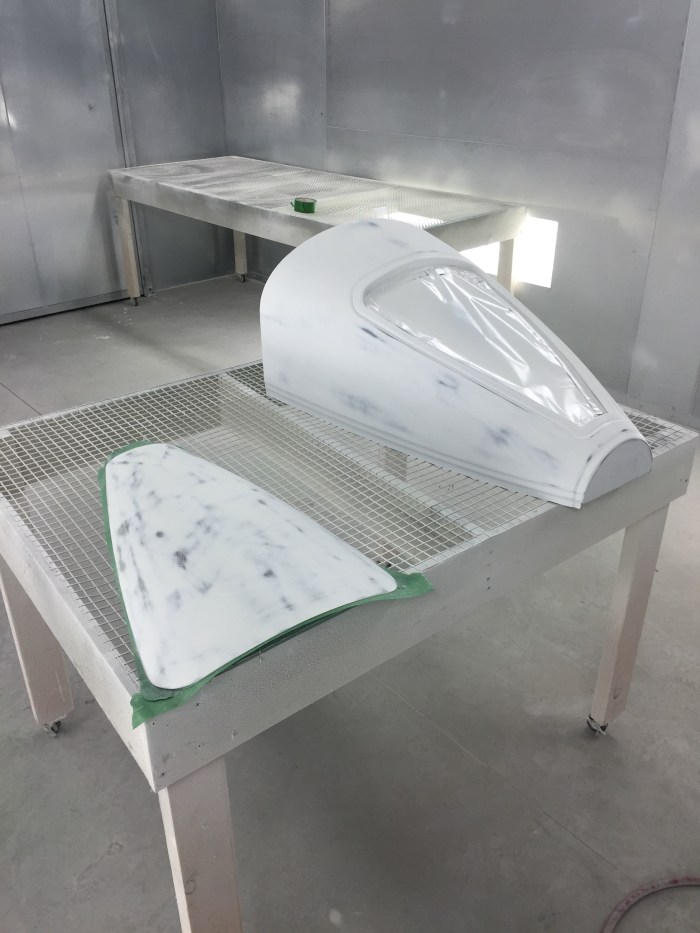
A fresh coat of primer.
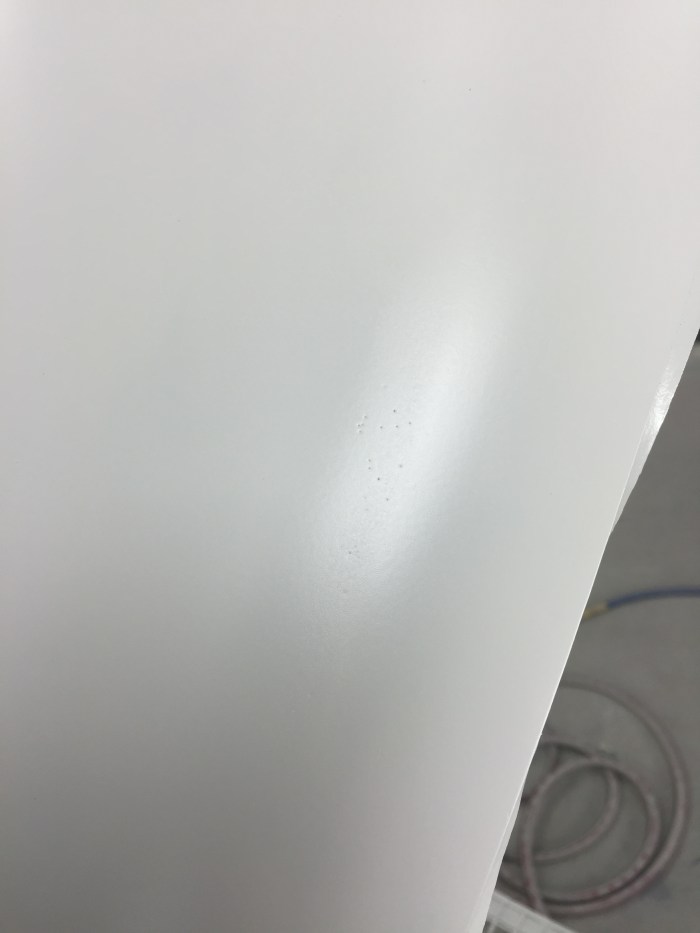
Here you can see some pinholes after the second prime. I would just use some more filler, work it in the pinholes with a razor blade and call it done. When the aircraft is going for its final paint it will get its final blocking and probably a sealer sprayed on it so you wont even see these after that. If you are going to be leaving your parts in prime but sill want it to look good then block it out and put on a light coat of primer.

