
I removed the nose strut again. I honestly can’t believe how many times I’ve had it in and out while fitting the gear doors. I’ll be glad when I get to pack the bearings, tighten the bolt and call it finished. I installed flush rivets as a secondary measure for where I bonded the strut door to the NG 5. On the outboard holes I double flushed the hole and installed solid rivets. I forgot to take a picture on them.

I used the mold that I made to be a support while I did the layup on the strut door. I taped it up so as to not allow resin in between the C channel and the strut.

I used flox to fill the rest of the gap between the strut and the door. I also used it to create a fillet for the glass. I had decided to glass over the NG 3 in order to lock it into place. I knew that the glass would not bond well to the stainless but it will create a mechanical lock. I do not like the method of drilling a hole through the strut and installing a bolt.
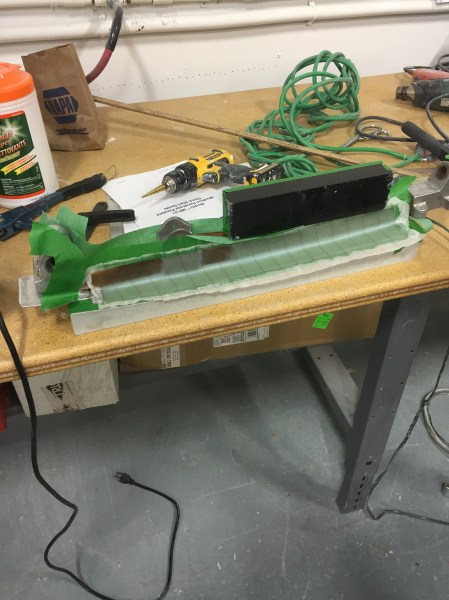
I then glassed three layers of BID over the length of the door.

I used a bondo spreader to protect the strut while I cleaned up the edge of the glass.

Here it is all trimmed. I still have to glass a band over the strut at the lower end. I will wait until I do my final set up of the gear travel before I lock the cover in its final position.

This is the potted inserts that I will use for attaching the gear door to the fuse. When these are installed they have the same torque and push out specs as a riveted anchor nut. The advantage is you can install them from the outside after your glass is already in place. I don’t think I had noted it before but I had put additional layers of glass in the attach area of the of the lower nose before I bonded it to the fuselage.

This is the installation tab that you use to install the potted insert. It has an adhesive side that is used to hold it in place during its cure. After cure you just pull them off. The two holes are used for injecting adhesive into the cavity.

Here the inserts are in the holes that I had previously drilled. The core is also set back to allow adhesive to bond the the back side of the glass.

A syringe is loaded up with adhesive. The adhesive is injected through the lower hole until it comes out the top hole. The masking tape is only there to catch the excess adhesive.

Here is a pic of the adhesive injected into all the inserts. Now I have a way of mounting my gear doors. I am excited to have it all functioning.

