
I saved all my pennies and finally ordered my nose gear retract from Jack at www.eznoselift.com It arrived on Friday and I have to say I was excited to work on something other than the canard.
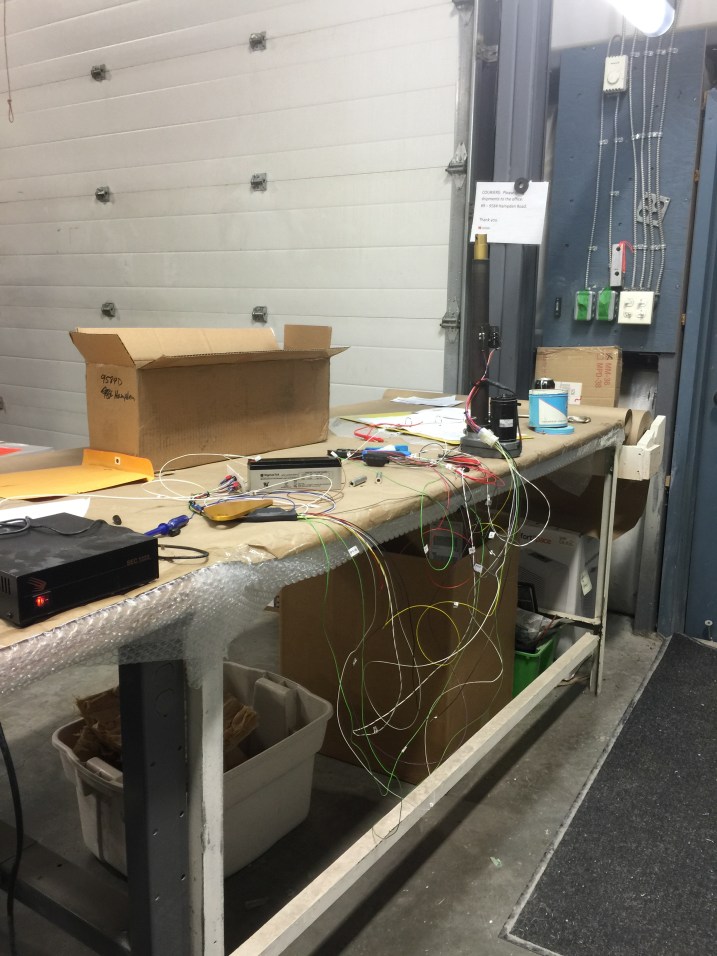
The first step, of course, is to get it moving. That is probably the most satisfying moment is when you throw the switch and it comes to life. I followed the labels on the wires along with the wiring diagram and had it moving in a couple hours. The only issues I had was me. You only have 9 pins to put in the molex connector and I managed twice to stick a pin in the wrong spot. I didn’t have a pin extractor so I was forced to cut off the pin and push it through. In the end it all worked out.

After I had tested everything I zap strapped the wires into something manageable. I will have to cut all the wires to length when it gets permanently installed but for now I left everything at its full length.

I had some issues with my mounting plates. Jack was very quick to respond and was more than willing to rectify any concerns I had with them.

Jack also mentioned that they will no longer be coming with the lightning holes machined in them. I decided that I didn’t want to wait for replacements so I will machine some new ones.

I modeled up some new ones in Solidworks.

I put down some 0.250 plate in the Cnc and was ready to cut.
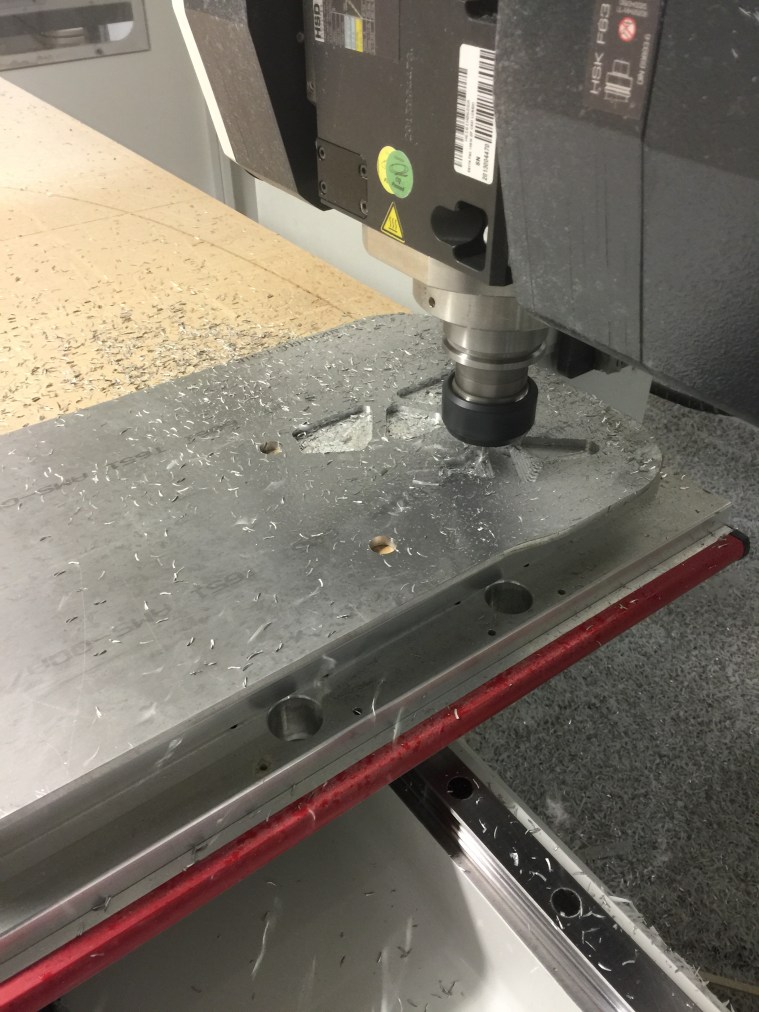
Here is a pic of the router in the process of cutting out the new mounts.
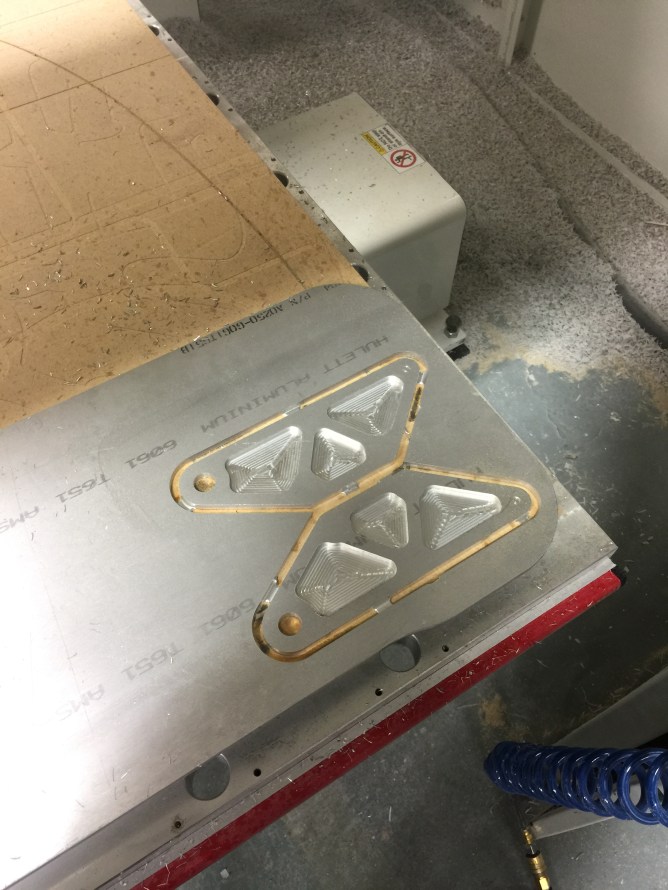
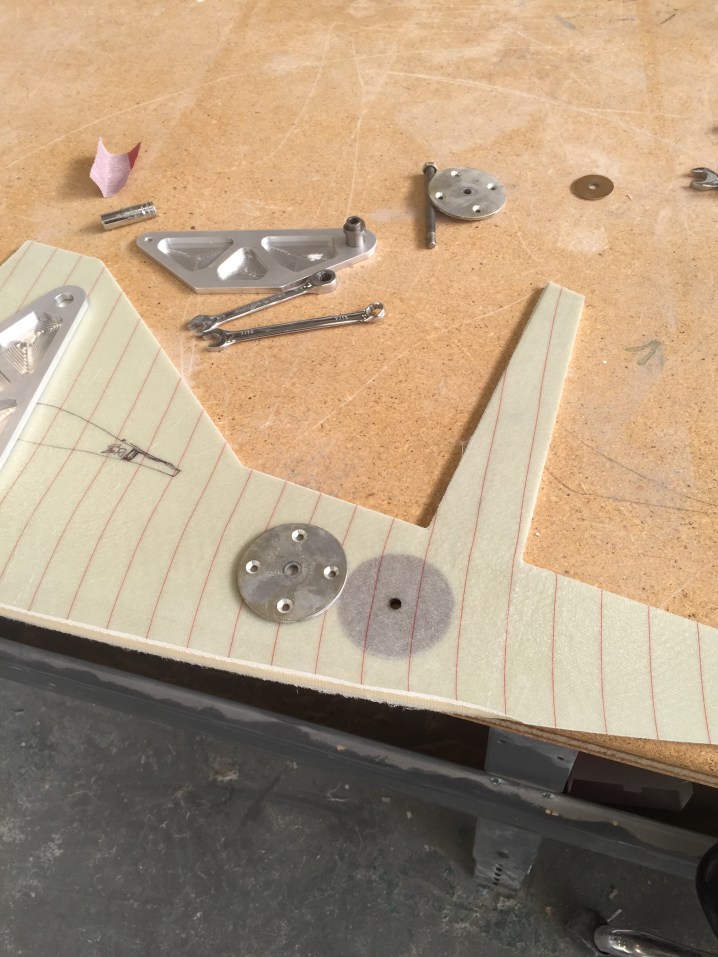
This is a pic of the mounts after the cutting was done. Can anyone “spot” the mistake.
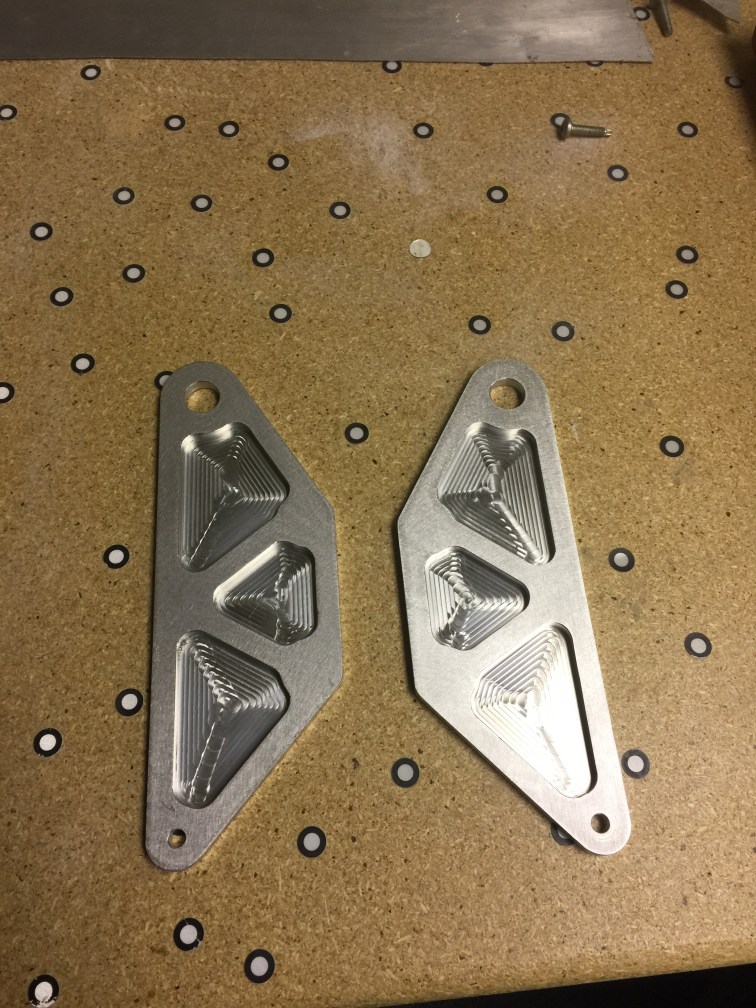
I cleaned them up and debured the edges. I might remake these but at least I can move forward with my building. They take about fifteen minutes of cycle time on the router so its not a big deal if I do. I was thinking after I made them that I should have put a radius in the corners of the pockets. There is nothing wrong with these ones its just that I am the way I am 🙂

My long-ez when I bought it already had the NG-30s made and the manual retract system already installed. The nose gear was also already installed so I have some undoing to do. The NG-3 and NG-4 had to be removed so with some strategic prying it popped off.
It came off clean so I hope that with cleaning up the flox the new one that comes in jacks kit will just need to be bonded. We will see.
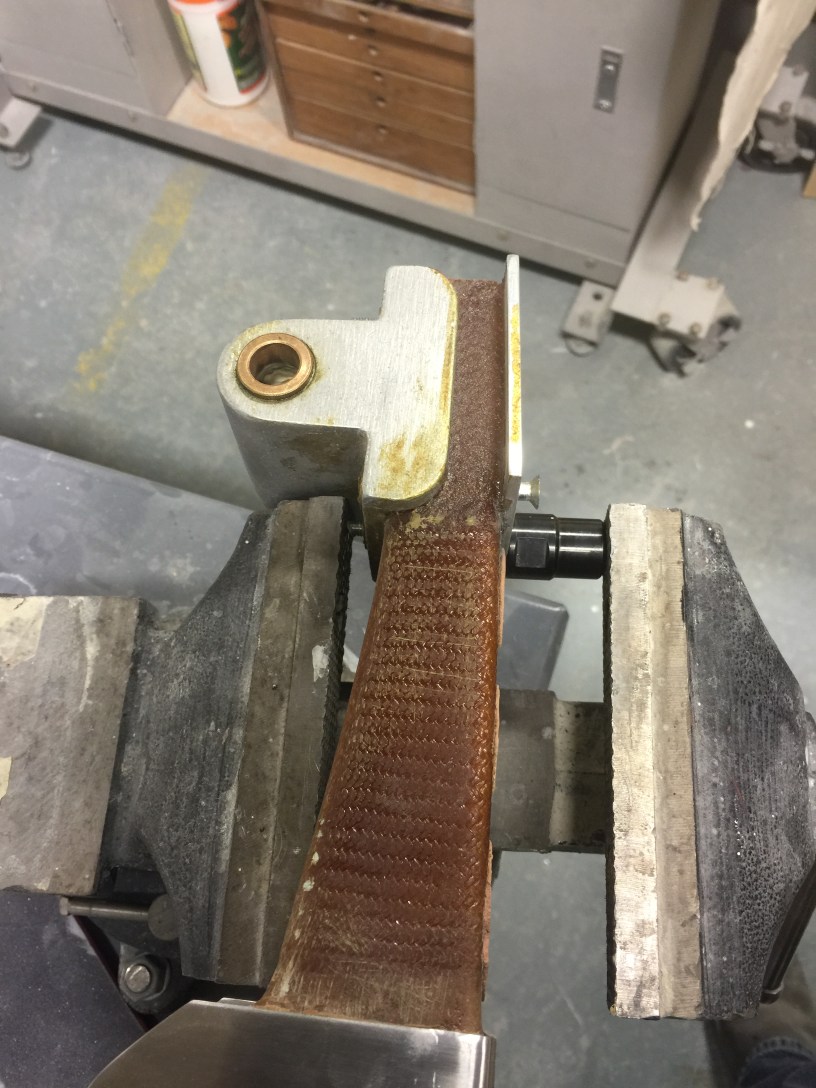
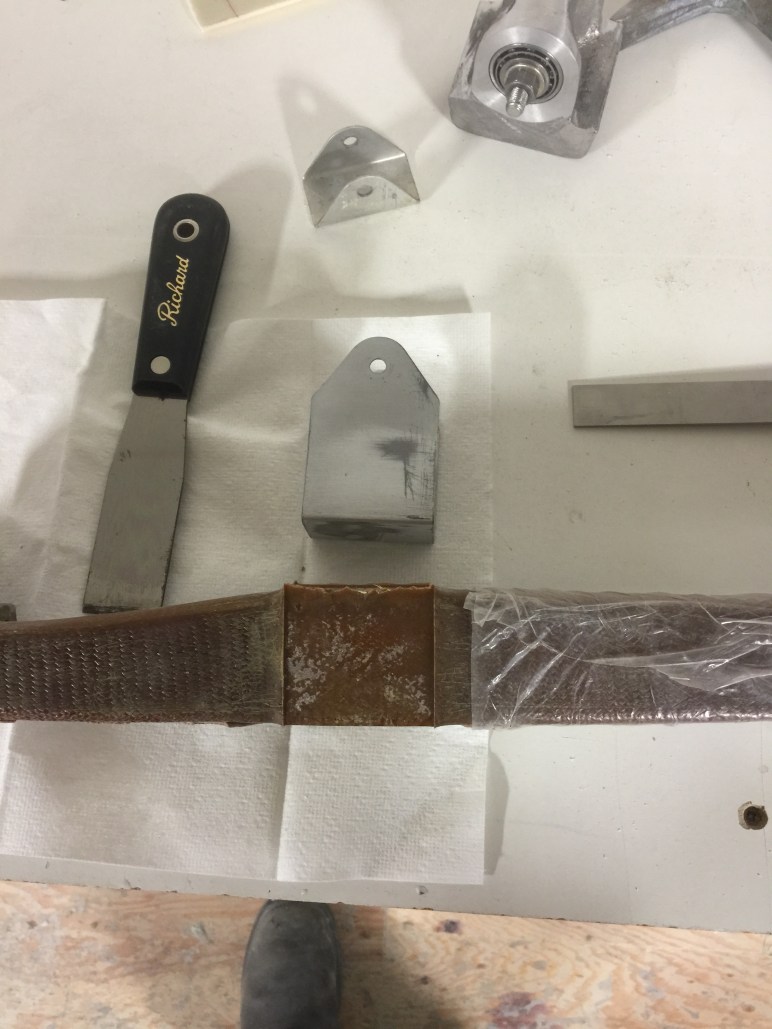
Next I removed the NG-6 from the strut. I used my vice to press the screws out as far as I could.

I used a cut off disk to cut the heads off of the screws. I then used a punch to drive them back out from whence they came. The threaded end of the screws get buggered when you are pressing them so they will damage the holes if you continue driving them all the way through the strut. That is why I knocked them out the opposite direction that I pressed them.
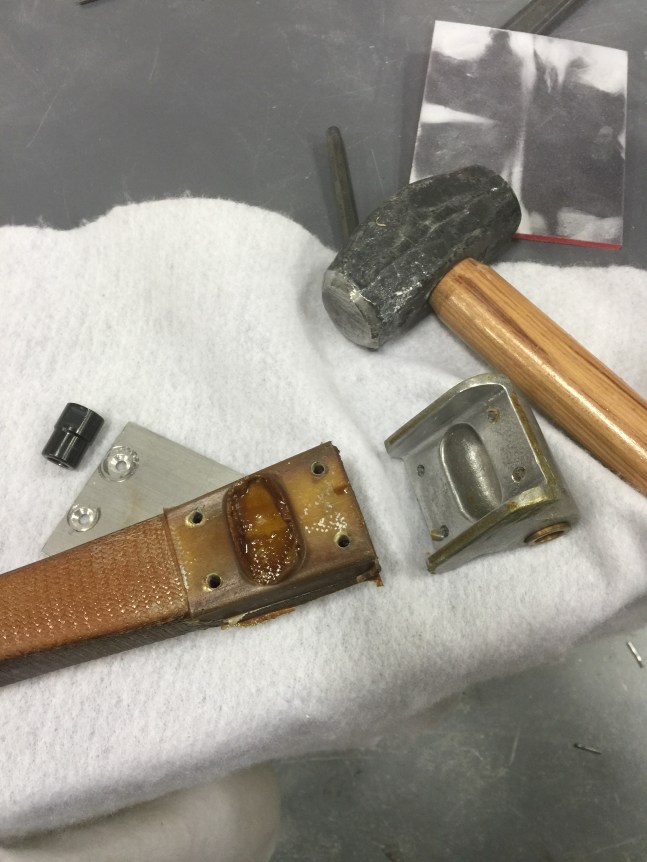
A couple taps with a hammer and the NG-6 is free. Don’t let the size of the hammer be indicative of how hard I tapped it. It is just what was sitting on the bench where I was working.
I removed the NG-8s from the original NG-30s that I had. I gave them an inspection to make sure they were accurate and that they could be re-used. They passed.
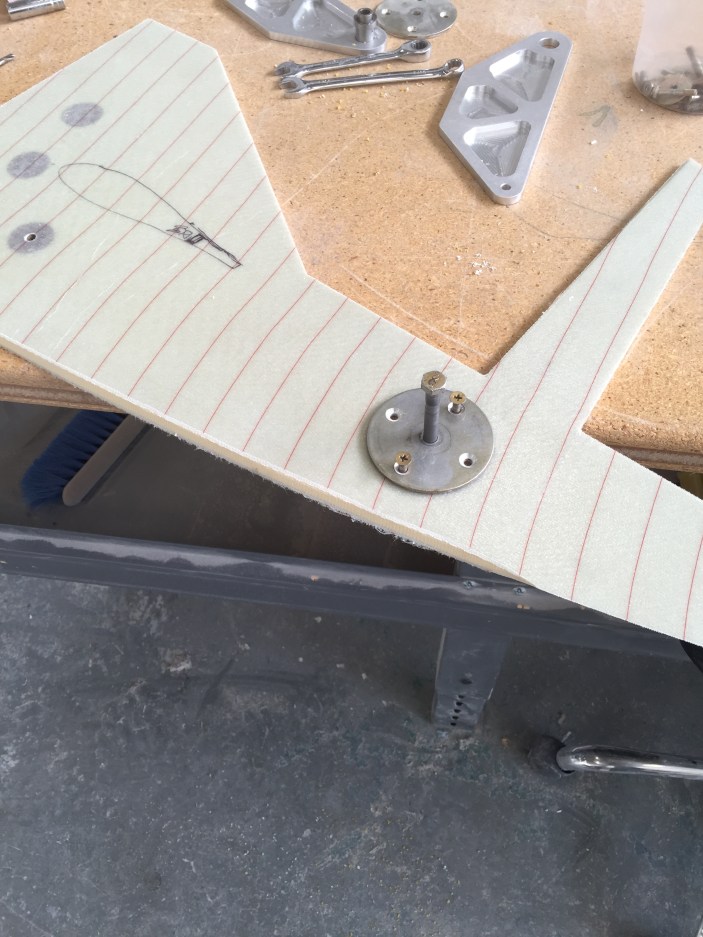
I used one of the NG-8s and used it as a guide to back drill the screw holes.

I then stacked the new Ng-30s and back drilled the screw holes into the other side.
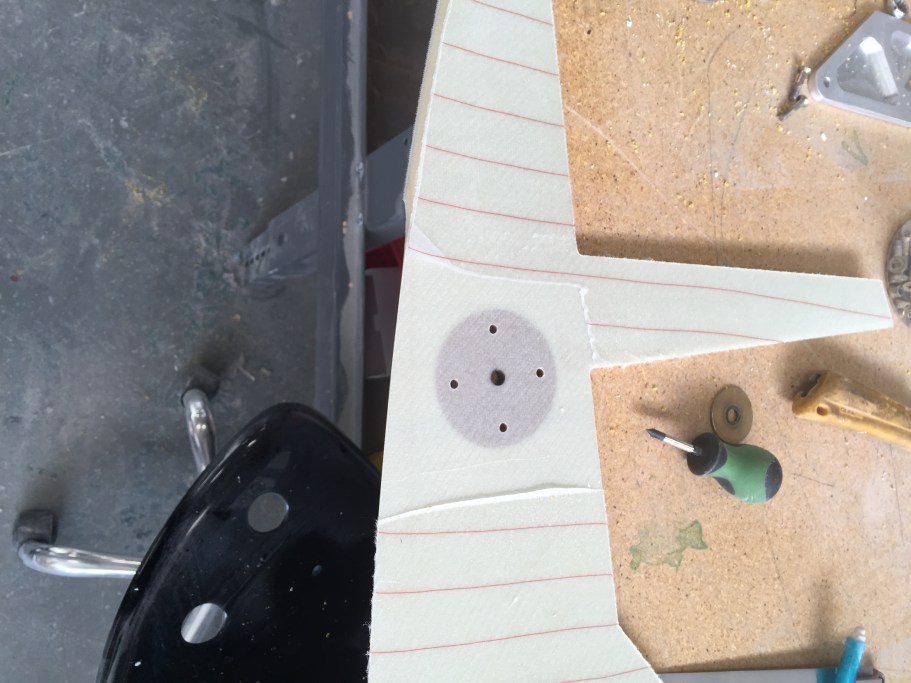
I locally removed the peel ply where I would be bonding the NG-8s. I didn’t want to remove it all so that I could keep the other surfaces clean for when they get glassed into the nose.
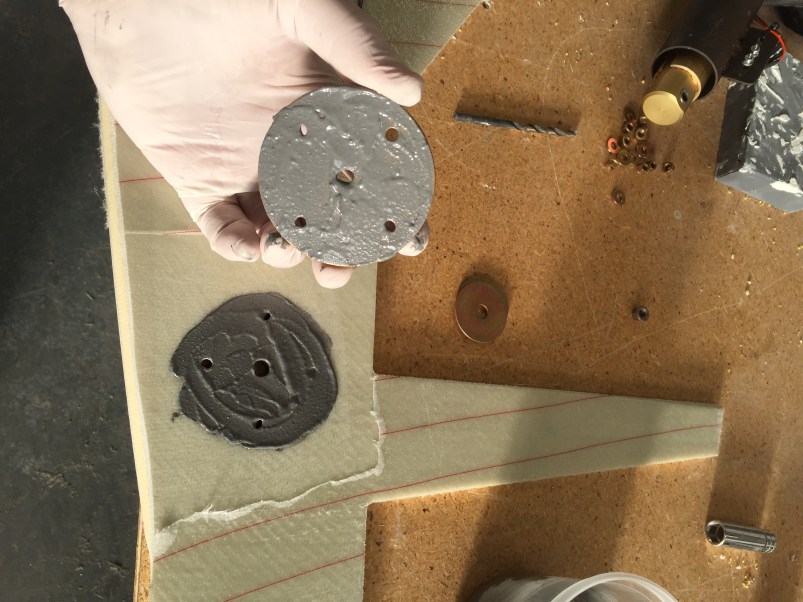
I mixed up some structural adhesive to do the bonding. I would like to add that everywhere I choose to use the structural adhesive is my preferred method of bonding metal. It is stronger than flox and I always have stock of it in the shop. However, there is nothing wrong with using flox. It is more than proven to be adequate for building the long-ez.
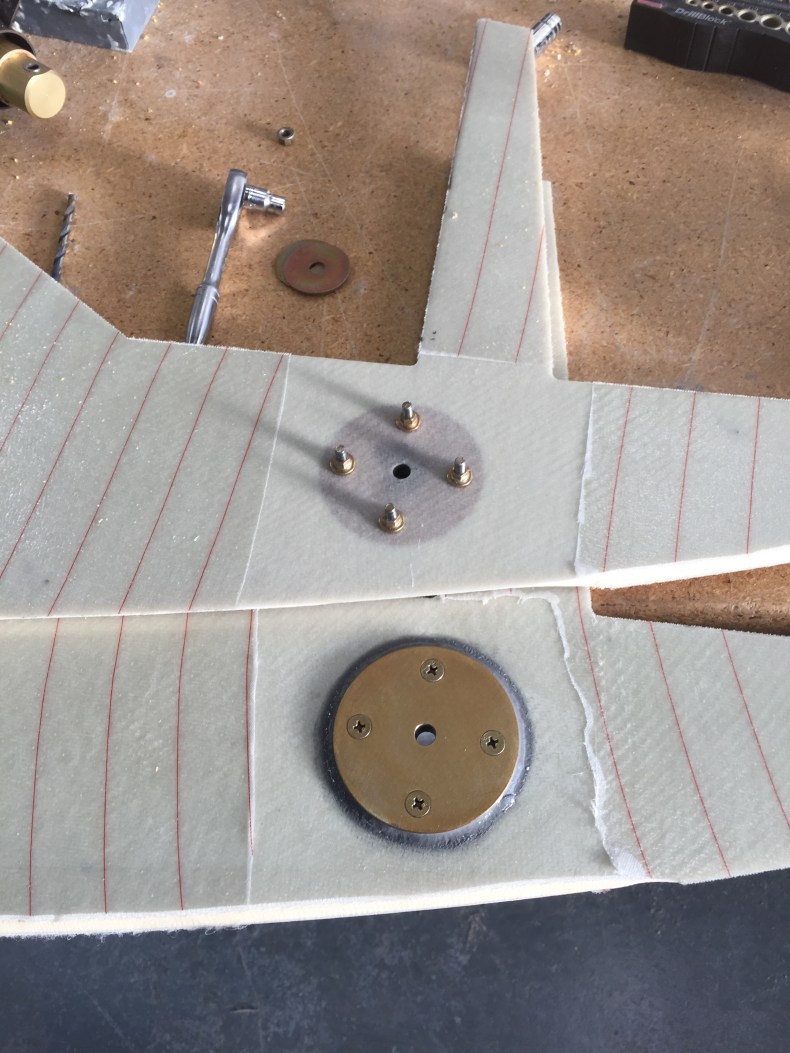
Here are the NG-8s installed and curing. I did clean them up and re alodine them before bonding.

